We all know Valentines Day falls on February 14th which leads us to a #Holiday to share with our friend’s family. The holiday is National Cream-Filled Chocolates Day #CreamFilledChocolatesDay. As much as I love Chocolate Candy can you believe we didn’t buy Candy this year?
David did buy me some Flowers in different shades of purple I love but I wasn’t able to get David anything for #ValentinesDay. I was thinking I might try and make Cream Filled Chocolates for David with Milk Chocolate and some with Coconut. Would you want to join me and make some for your family?
If your #Homeschooling your children, you could host a cook class and let your students make Cream-Filled Chocolate and create and decorate a box for the Candy. I’ve shared a recipe for you below for Cream-Filled Chocolates.
“Little hands + chocolate = magic. These Kid‑Friendly Cream‑Filled Chocolates are the perfect no‑bake treat for holidays, homeschool rewards, or just because. Soft, creamy centers wrapped in a sweet chocolate shell — and the kids can help every step of the way.”
Kid-Friendly Cream-Filled Chocolates– A No‑Bake Treat Kids Can Help Make
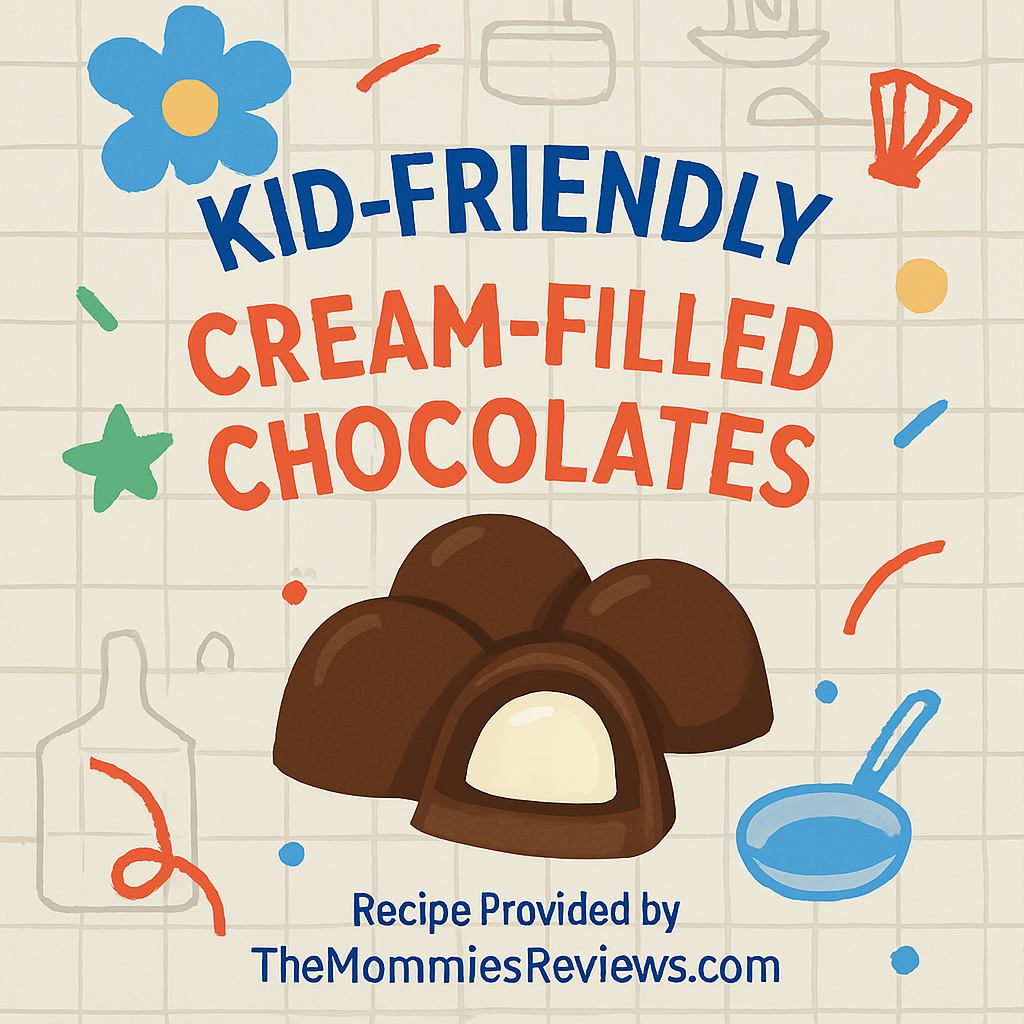
I wanted to share these homemade chocolates which may look fancy but are incredibly simple. There is just three main components: melted chocolate, a fluffy cream filling, and a silicone mold. Kids love brushing the chocolate into the molds and spooning in the creamy center. These Cream-Filled Chocolates are perfect for Valentine’s Day, Easter baskets, birthday treats, or a rainy‑day kitchen project or just because.
Ingredients
Chocolate Shell
- 1 ½ cups chocolate chips (milk, dark, or white)
- 1 tsp coconut oil (optional, makes the chocolate smoother)
Cream Filling
- 4 oz cream cheese, softened
- 2 tbsp butter, softened
- ½ cup powdered sugar
- ½ tsp vanilla extract
- Optional fun add‑ins:
- Sprinkles
- Mini chocolate chips
- Crushed Oreos
- Strawberry jam swirl
Instructions
1. Prepare the chocolate
- Melt chocolate chips (and coconut oil if using) in the microwave in 20–30 second bursts, stirring until smooth.
- Kids can help stir once the bowl cools slightly.
2. Coat the molds
- Spoon a little melted chocolate into each silicone mold cavity.
- Use a clean paintbrush or the back of a spoon to coat the sides.
- Freeze for 5–7 minutes until set.
3. Make the cream filling
- Beat cream cheese, butter, powdered sugar, and vanilla until fluffy.
- Fold in any fun add‑ins your kids choose.
4. Fill the chocolates
- Add a small spoonful of cream filling to each chocolate shell, leaving room at the top for sealing.
- Freeze for 5 minutes.
5. Seal with chocolate
- Cover each filled cavity with more melted chocolate.
- Tap the mold gently to remove air bubbles.
- Freeze 10–15 minutes until firm.
6. Pop out and enjoy
- Gently remove chocolates from the mold.
- Store in the fridge for the best texture.
Kid‑Friendly Variations
- Rainbow Sprinkle Creams: Mix sprinkles into the filling.
- Cookies & Cream Bites: Add crushed Oreos.
- Strawberry Cheesecake Chocolates: Swirl in a teaspoon of strawberry jam.
- Peanut Butter Clouds: Add 1 tbsp peanut butter to the filling.
Thank you,
Glenda, Charlie and David Cates